Using the STK500 with Atmel Studio 6.1
I'm starting another AVR project using my by-now-venerable STK500 and the latest 6.1 version of Atmel's Studio software. Although I'm sure Atmel would like all developers everywhere to buy STK600s, it's perfectly possible to use the older development kit with the newest software, although this combination is not as well documented as I'd like; hence I'm using this post to collect a few tips distilled from recent experience.
Upgrading STK500 Firmware
You may need to upgrade the firmware on your STK500 before you can reliably communicate with the target device; there's a tool included with Atmel Studio 6.1 for this. I take zero responsibility if your development kit becomes unusable as a result of this process. In fact, I recommend not upgrading the firmware unless you've tried everything else. If you still want to though, connect your switched-off STK500 to a PC via the “RS232 CTRL” port in the normal way. Hold down the “PROGRAM” button and power on the STK500; release the button once the LEDs have become stable.
Next, run Atmel's upgrade tool, located (on my install at least), at: C:\Program Files (x86)\Atmel\Atmel Studio 6.1\tools\STK500\Upgrade.exe. Click on ”Start Upgrade“ and watch the progress bar fill up. Unfortunately, this actually halted for me the first time I tried it; I rebooted the PC and tried it again, this time successfully. Overall this process did not inspire confidence, so avoid it if you can.
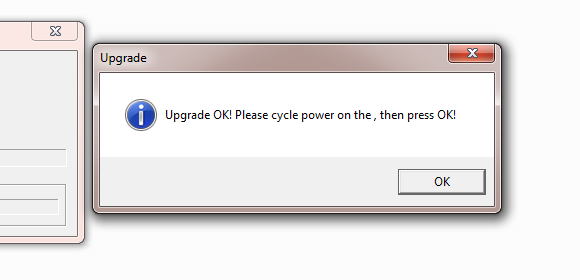
Even a successful upgrade may leave you wondering!
Adding Support for a Particular AVR
When you create a project in Atmel Studio you're prompted to select a target device from a huge list of Atmel microcontrollers. If you click on one of these you'll see a list of “Supported Tools”; for many of the devices the STK500 will not be among them. If that's the case for your preferred device, don't worry: it's easy enough to add support for it.
Visit C:\Program Files (x86)\Atmel\Atmel Studio 6.1\tools\STK500\xml\ (modify this path if you installed it elsewhere, of course) and select one of the XML documents there—it doesn't matter which one. Open this file, which will correspond to some other device which happens to be supported for the STK500, in the editor of your choice. It will look like this:
Replace the attribute name under device with the name of the new device that you're trying to support. Get this name from the device menu in Atmel Studio and type it in exactly as it appears there. For instance, if you're trying to add support for the ATmega64, the file will end up as:
Then save this file to the same directory but with a new filename, replacing the original device name with the new one. In this case, you'd save it as ATmega64_stk500.xml.
Physical Considerations
There's a debugging motto among telco engineers: It's always the physical layer, which is a way of saying that there are lots of easy ways to get pinouts and connectors and so forth wrong, so look there first. The first challenge in getting the STK500 running (well, second to getting it powered, maybe) is establishing serial communications with it. For most developers now that will require a USB-to-serial adapter; but you'll find that the male DB9 end of these adapters won't go directly into the female DB9 of the STK due to the threaded standoffs of the female connector interfering with those of the male connector. The best way to deal with this is to get a male-to-female DB9 console cable and use it between USB adapter and STK.
Finally, don't be an idiot like I was and leave a DIP-socket AVR plugged into the STK500 underneath, and concealed by, the STK501 shield that I use to program 64-pin TQFP microcontrollers. It won't break anything but it can leave you scratching your head over “Unable to enter programming mode” messages!
Six Comments So Far
Eiki Martinson says:
Here's a link to an image of the STK500 with all features called out. The button you're looking for is in the lower-right quadrant of the image.
http://support.atmel.no/knowledgebase/avrstudiohelp/mergedProjects/STK500/Html/figures/Figure3-1.gif
penguin says:
I have Atmel Studio 6.1, however the location of st500.exe is a hidden mystery.
This mysterious and secret file 'stk500.exe' is not available anywhere but here:
http://www.mikrocontroller.net/attachment/185003/Stk500.exe
sasi says:
I am using atmelstudio6.2 version. while upgrading stk500, getting error_no programmer found. please help me to find "PROGRAM" button.Where is the “PROGRAM” button. (Hold down the “PROGRAM” button and power on the STK500; release the button once the LEDs have become stable.)
Thanks & Regards
sasi